Mini Museum Exhibit Project | 2nd Grade
What kind of thinking goes into the design of a natural history exhibit?
Throughout three lessons, students deepen their observation-making abilities, learn about how to properly collect natural specimens, and create their own miniature museum exhibit. This project-based sequence will teach students how to interpret their findings and distinguish natural objects from one another based on their physical properties.
Teacher Guide


1. Review each lesson (description and links below).
2. Assign students each lesson by sharing the lesson hyperlink.
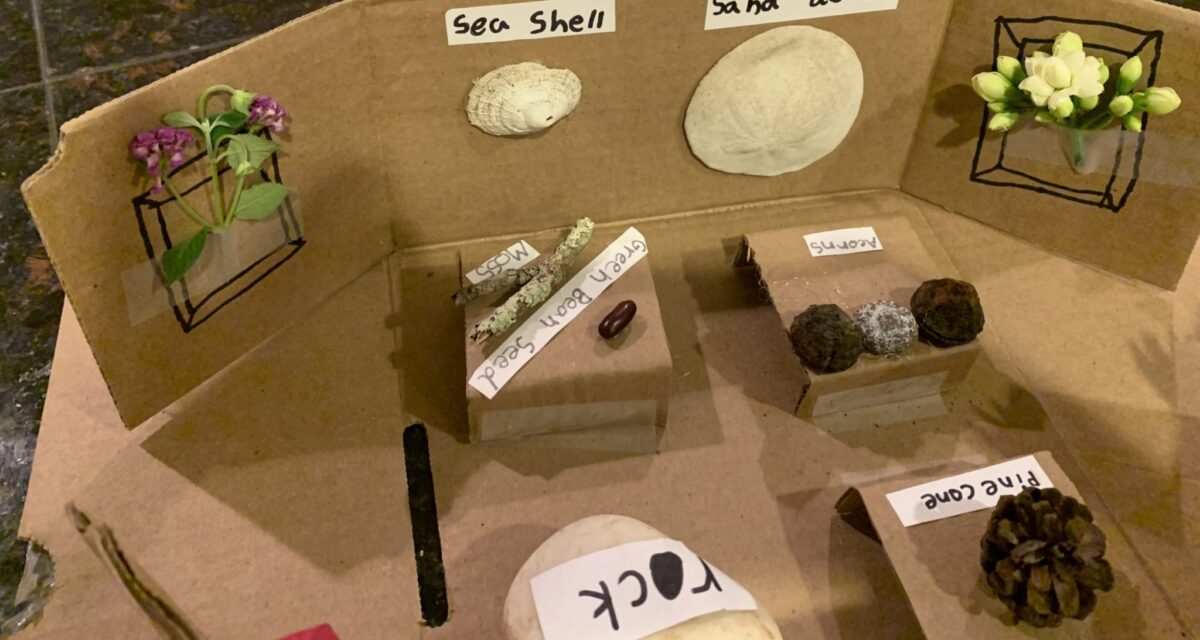
Students will create a model of a museum exhibit, complete with collected specimens, drawings, and labels that interpret their specimens based around scientific concepts.
- Describe key differences between objects, such as color, texture, shape, or origin.
- Understand how museums curate exhibits and group different kinds of animals and specimens.
- Specimen
- Exhibit
- Label
- Interpretation
Time:15-25 minutes
Activities can be done: ☑Classroom ☑At home
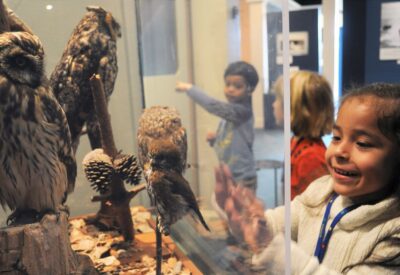
Students view a presentation of the Santa Cruz Museum of Natural History’s exhibits and think about how different specimens are interpreted.
- Students see how museums display and interpret specimens.
- Students choose a particular exhibit to explore and learn more about the specimens in it.
Click here to view and share lesson #1 with your students.
Time: 30-1 hour
Activities can be done: ☑Outdoors ☑At home
Students collect different specimens from around their home or favorite outdoor place to explore
- Students learn about the ethics and rules of collecting specimens from natural spaces.
- Students come up with a plan for their exhibit and go collect their specimens!
Click here to view and share lesson #2 with your students.
Time: 30-45 minutes
Activities can be done: ☑Outdoors ☑At home
Students create an exhibit that displays and interprets collected specimens, grouping them by shared characteristics.
- Students build their exhibit and label their specimens.
- Students share their projects with the class.
Click here to view and share lesson #3 with your students.
NGSS: 2-PS1-1- Matter & Its Interactions
Plan and investigate to describe and classify different kinds of materials by their observable properties.
Lesson 1 - Engage & Explore
View this presentation of the museum to learn about our different exhibits and how we display them!
- What do you already know about some of the specimens you saw in the museum?
- What are some questions you have about any of the specimens you saw? Come up with two questions to ask your teacher.
Watch the Mini museum exhibit video to learn about the project you will be working on for the next couple of lessons!
Lesson 2 - Explore & Collect
Think about the specimens you saw in the museum tour.
- What were 4-5 different specimens you saw in the exhibits?
- Where do you think they came from?
- Have you ever collected anything you found in nature? What was it, and why did you want to collect it?
View this presentation to learn about how to collect specimens for your exhibit without breaking any rules and respecting our plant and animal neighbors.
What different sections will you have in your exhibit?
- Look for objects that you can group together in their own sections that share different traits, such as color, shape, or something else.
- Example: Different leaves or flowers could be in one section, differently colored rocks in another section, and shells and bones in a third section.
- Come up with at least three sections for your exhibit to collect specimens for. Check with your teacher to make sure before you start collecting!
- Now draw a model of your exhibit that you can use when you create the real one in the next lesson!
Lesson 3 - Create & Interpret
What do you want your exhibit to look like?
- Remember the mini museum video? You can design your exhibit like that one, or make something completely different! You decide!
- Use cardboard, a shoe box, or something else to come up with the layout for your exhibit.
How will you arrange your specimens?
Remember to group them by their shared features, such as color, shape, or where you found them!
What do you want to share about your specimens?
Write labels for each specimen. Each label should include:
- What the specimen is
- Where you found it
- One reason you included it in your exhibit
Take a picture and share your museum exhibit with your teacher and classmates the next time you meet!